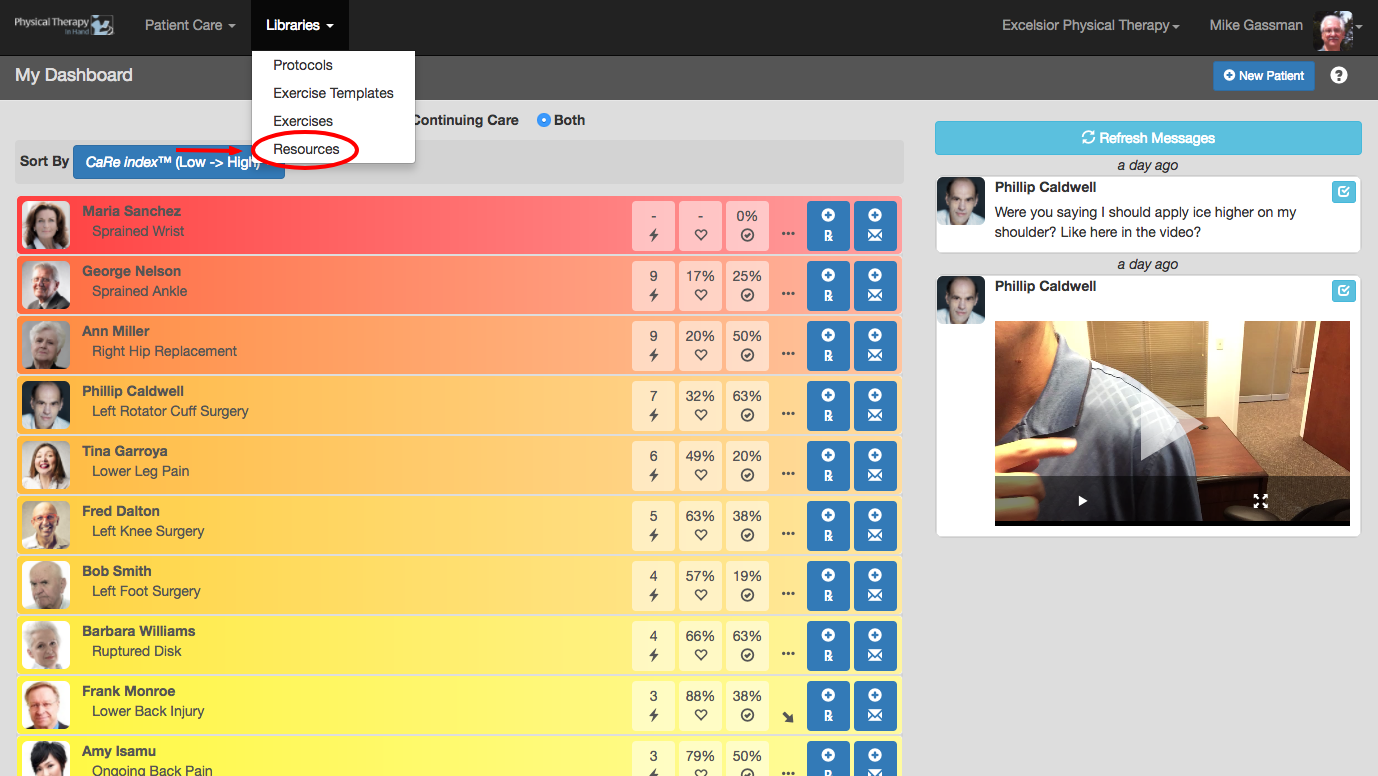
To create a new Resource, click the Libraries menu and then the Resources menu item:
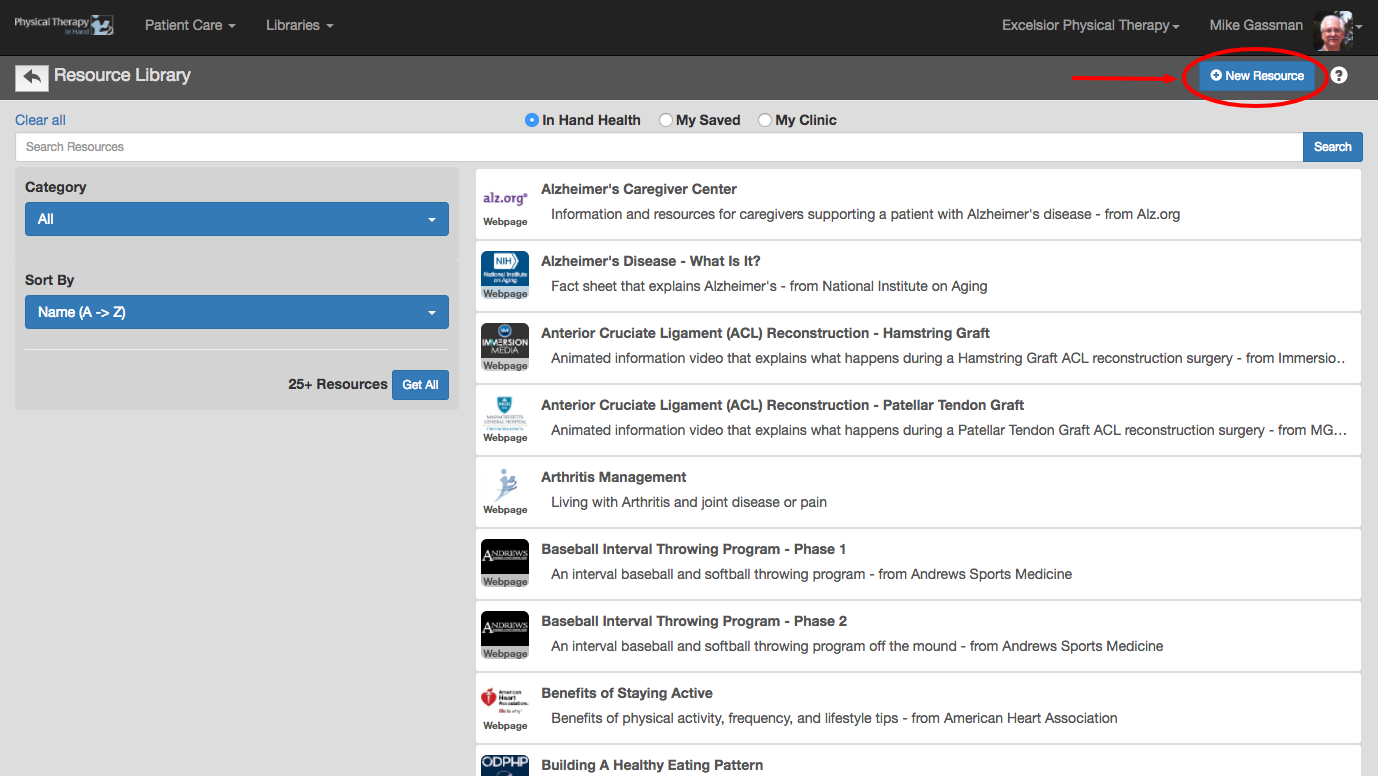
Click the New Resource button:
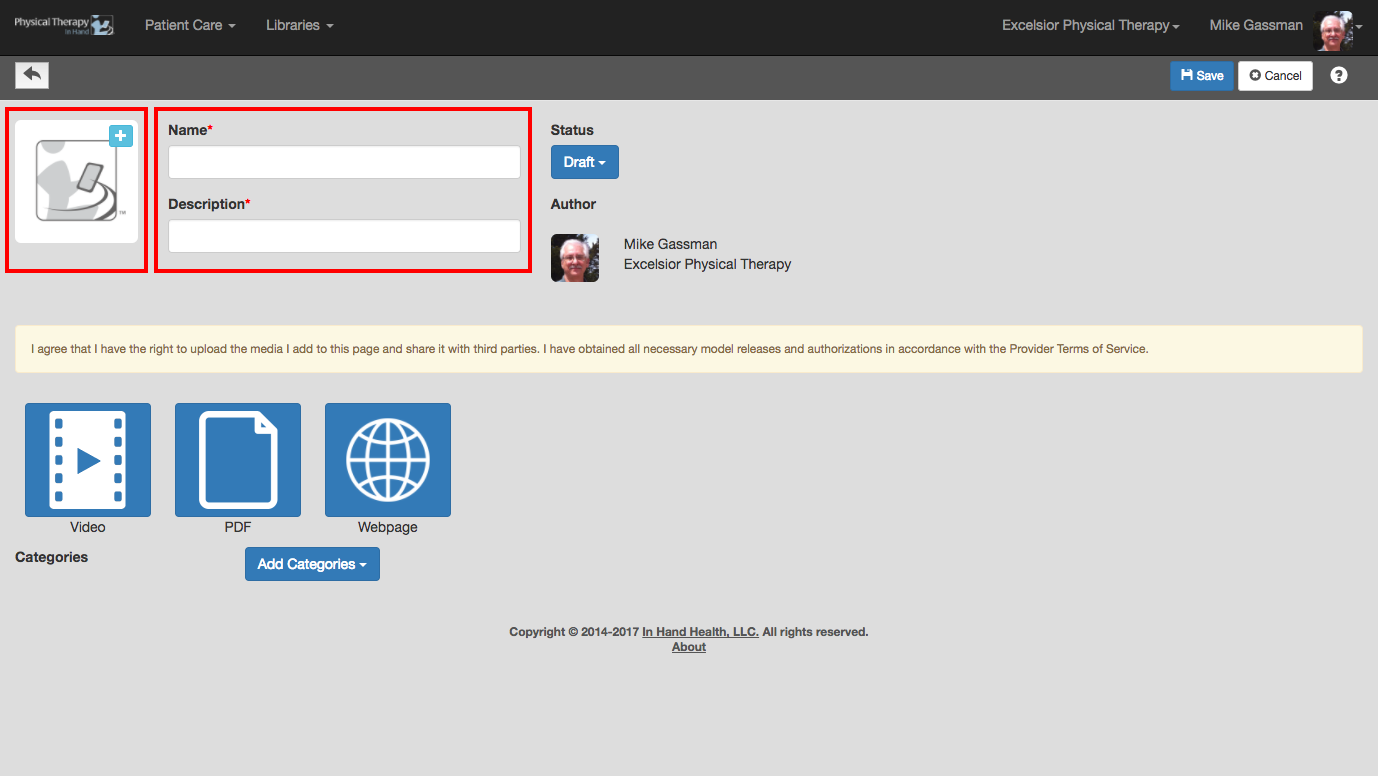
Upload a thumbnail image (optional) and enter a Name (required) and Description (required):
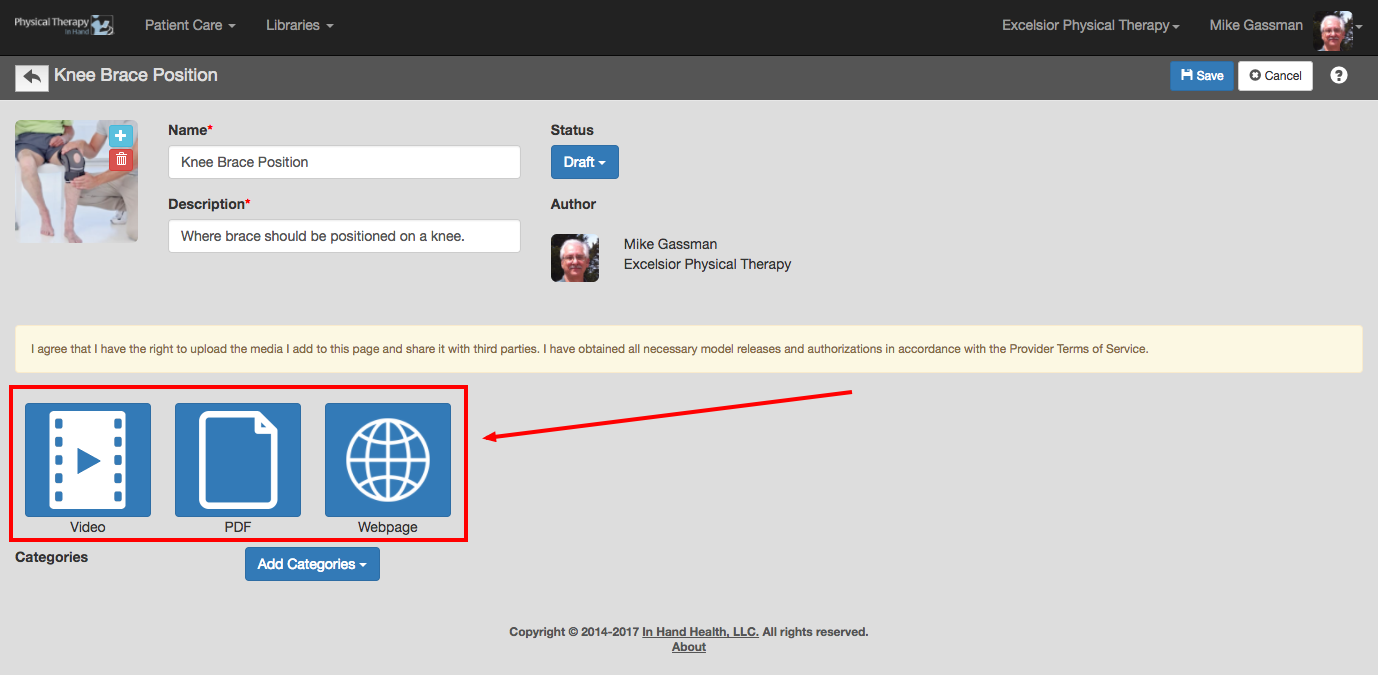
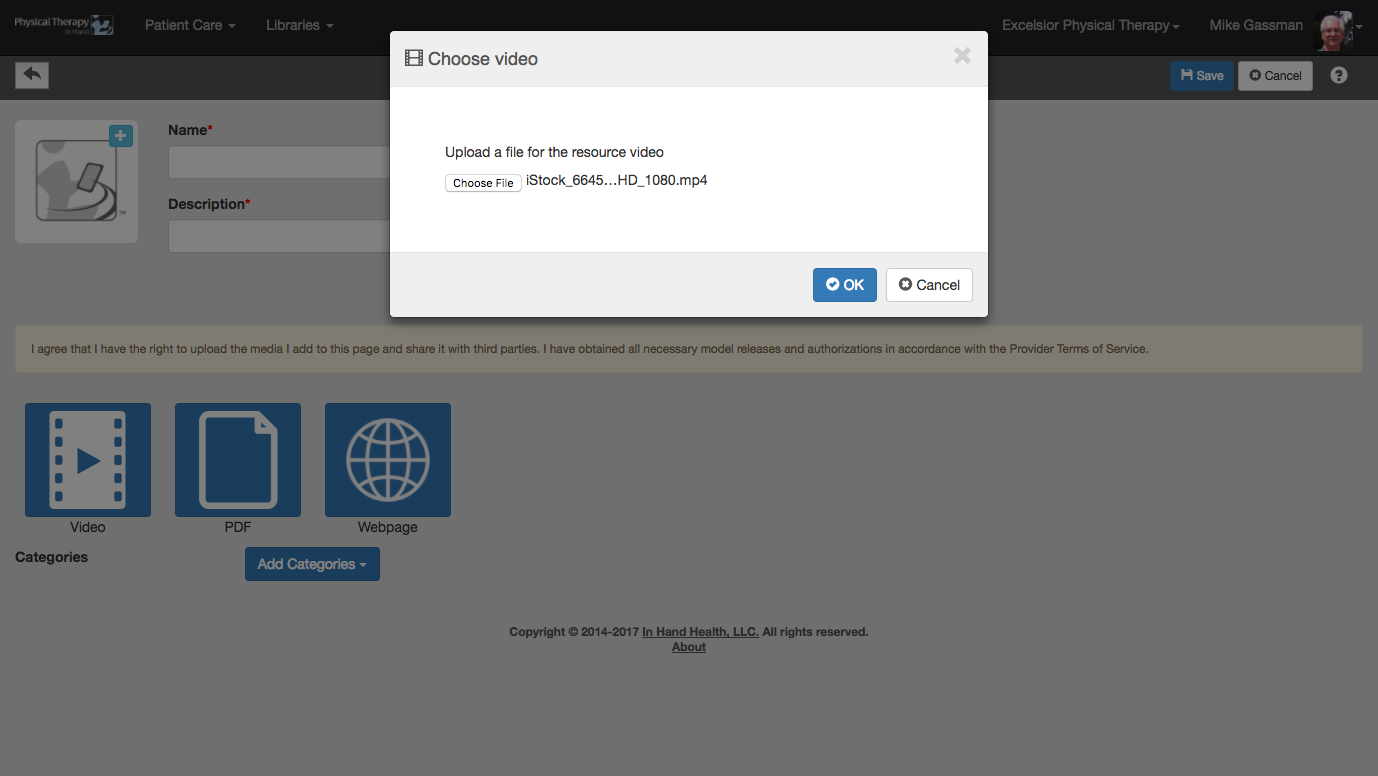
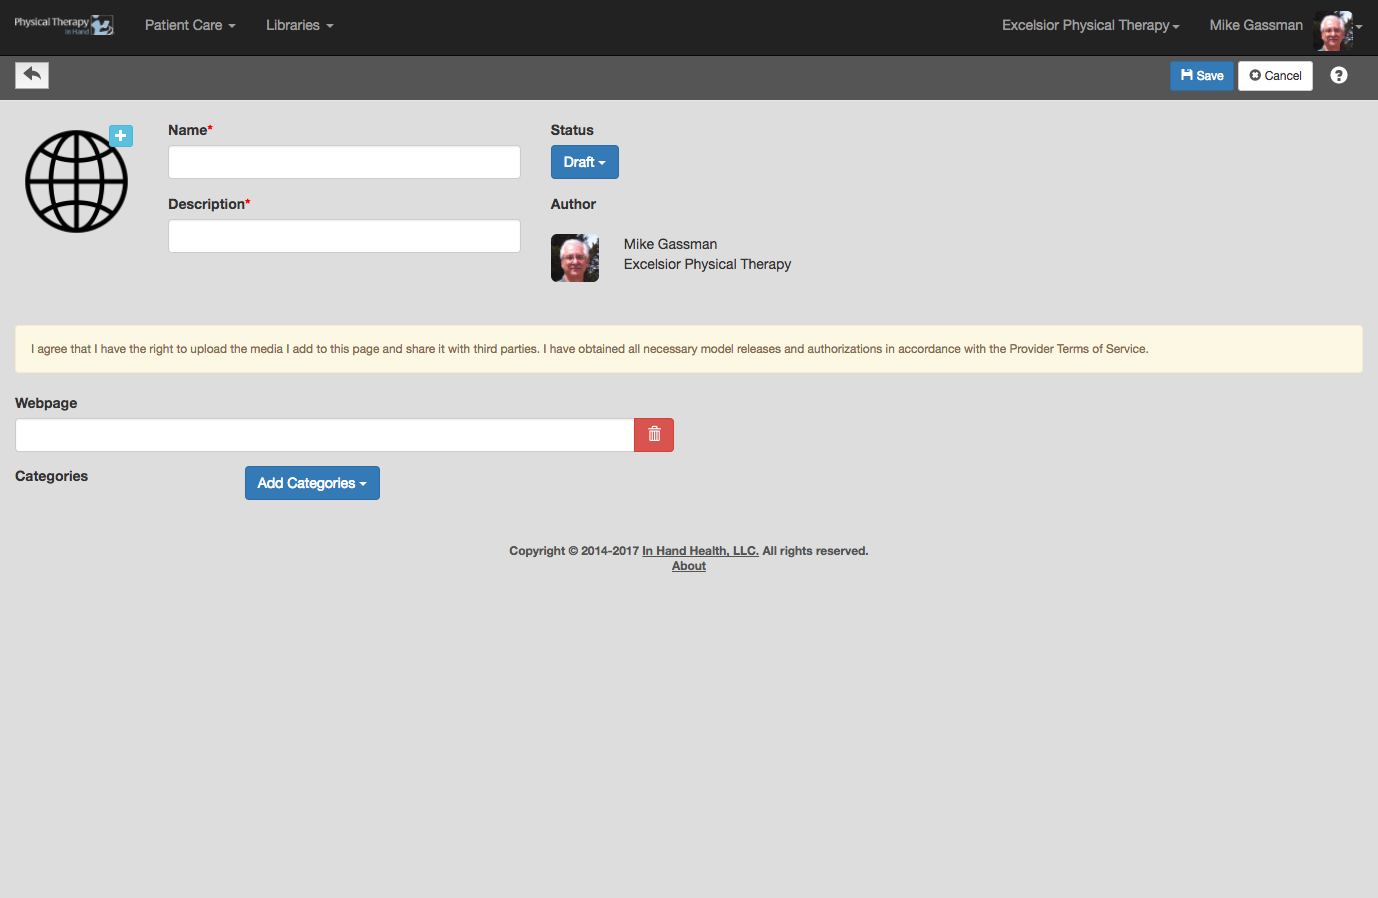
Upload a Video or PDF file from your computer or enter a URL (webpage address) for your Resource by clicking or tapping the appropriate large blue icon:
For video and PDF files, you will be asked to upload your file:
For a webpage, you will be asked to enter the full URL (web address):
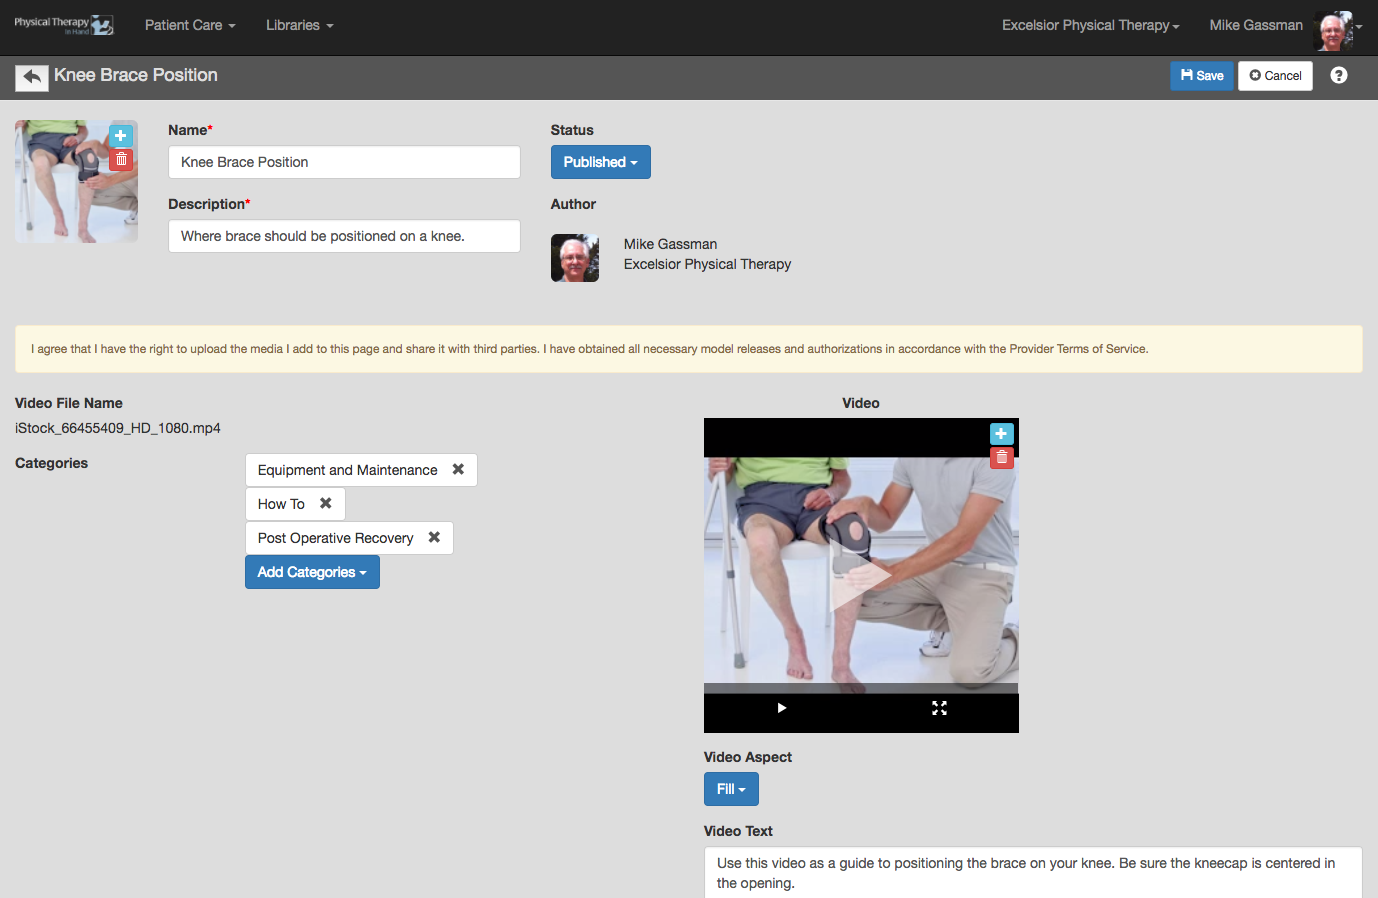
After uploading your file or entering the URL to a webpage, you then need to complete the remaining fields in the Resource record including selecting Categories and supplying any additional descriptions.
For video files: You can select an aspect ratio best suited to your video. Fit shrinks the video proportionally to the width of the video window and may leave letterbox (empty) space on top and bottom of the video content. Fill uses the center of the video as an anchor point and scales the video up until the entire frame is filled. This may result in cropping on the right and left side of the video.
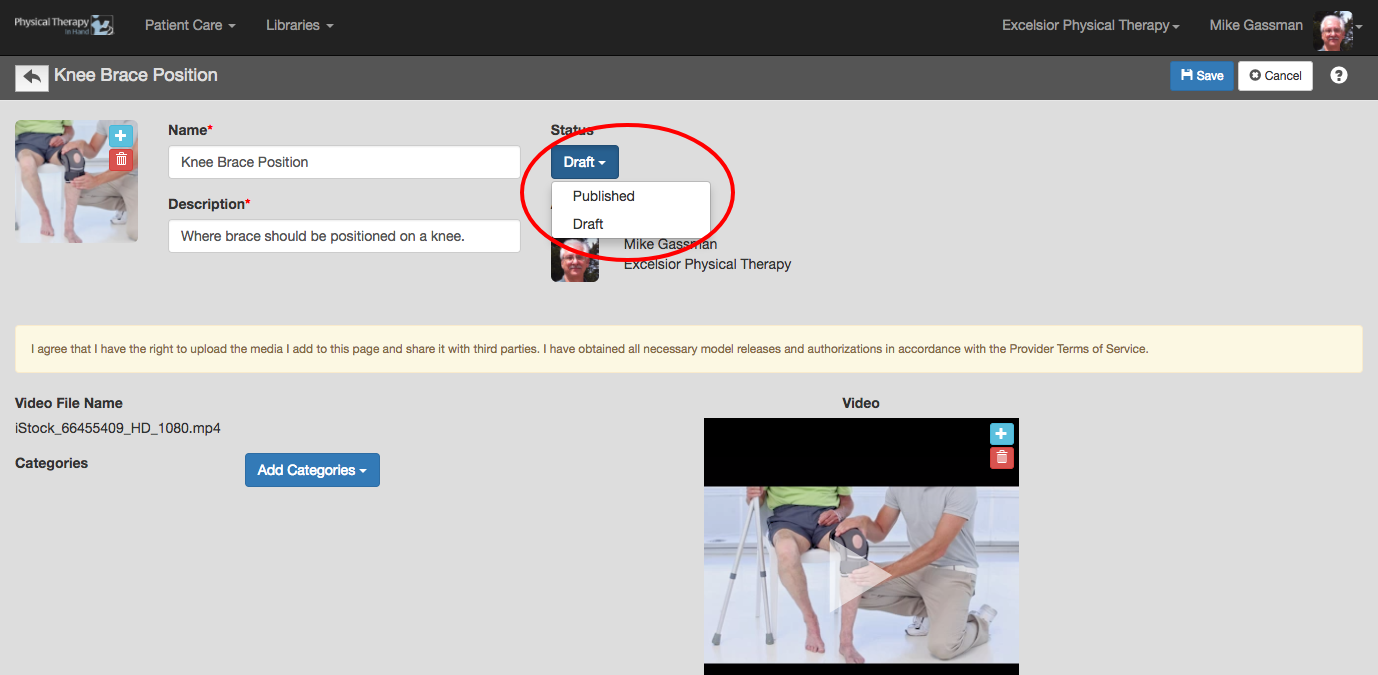
Save the video as a Draft to keep the Resource in the My Saved section of the Resources library. It cannot be seen by other therapists in your clinic or sent to a patient.
Save the video as Published to save it to the My Saved and My Clinic sections of the Resources library. It can be seen by other therapists in your clinics and sent to a patient.